
Late last year, I had two back-to-back orders for baby penguins. Due to the holidays and typical year-end madness, I didn’t get around to doing a post about either of them.
In previous renditions when doing the color changes in the head (white eye areas on a dark gray/light black background), I have kept my two colors of yarn going simultaneously, but I have had mixed results with the color changes looking loose in the end product.
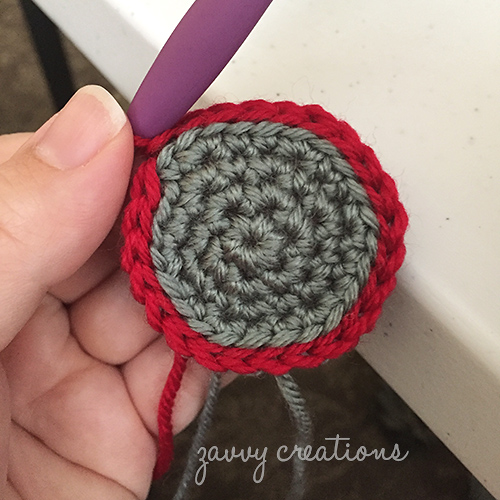
I made an executive decision as a woman who takes pride in her handcrafted goods. I changed things up by snipping one of the colors for each round (the white in the head) and tying secure knots with the loose ends. I found this to be much more successful in keeping the stitches tight (as color changes can produce looser or sloppier looking stitches), not to mention not wasting a lot of yarn carrying tails back and forth around the head. In the end, the dolls looked polished and professional, and I didn’t have to worry about a stray end coming loose if the doll ends up in the hands of a careless child or pet.

Finished penguin with tight color changes
Fast forward to the present moment. In one of the crochet groups I am in on Facebook, someone posted this blog article, where the author wrote about doing more seamless color changes in amigurumi.
I gave it a try the next time I worked on a doll (this time, a giraffe) — and I am pleased to say it is a successful technique!

Giraffe with new color changes technique used
As you can see from the photo, where the color change happens when you’re working in the round (without a join), the jog isn’t as noticeable. Check out the horns. It doesn’t glare out at you and you don’t get the “zig-zag” effect. Sometimes the zig-zag looks okay for a particular effect but for the most part, it looks nicer when it can be avoided.
Even my husband, who doesn’t notice much of what I’m doing with crochet most of the time since I’m always working on something, thought the this color-change technique was noticeable and one to keep using.
There are a couple of key points I discovered: slip stitching loosely is important, or the piece will look slightly shrunken on that round. If you’re going for the shrunken effect, slip stitch more tightly. The other point is to make sure there are enough rounds between the color changes that aren’t doing a lot of increasing or decreasing. In fact, it is ideal to change colors when there is another round of one single crochet stitch in each stitch around.
Lastly, the slip stitch round + doing the next round in the back loops with single crochet = one round. Knowing that helps with counting your rounds, since you’ll see the two horizontal lines next to one another. See photo below:

If I’m not mistaken, the blog post I linked to above has gone viral in the crochet world, because I have seen the “big time” crochet designers doing their own posts showcasing their successes with it.
Have you tried this out? What do you think?
