
Although I have been steadily crocheting for about two years straight now, I go through the usual peaks and valleys in volume of projects and number of hours I’m at the craft.
As we are in the official frenzy of pre-holiday Making of Things, I have not been immune to feeling the crunch of squeezing projects in wherever I can. I have taken to bringing a project to work with me each day to be productive on my lunch breaks, even.
I didn’t understand until this week when I went to continue some rows of a scarf just how much I had overworked my crocheting muscles in my hands and arms. I type quite a bit for my day job and when my non-dominant hand began complaining as soon as I began typing, I realized I had pushed myself wayyy too much the weekend before. I had busied myself with other things but apparently the balance was still way off.
“Pain.” (This girl has experienced Too Much Crafting.)
This week, I concluded that the couple of times I have committed to the gym per week are rather critical; not only in terms of relieving stress and improving heart rate and muscle tone, but loosening up those muscles that want to stay cramped in one position after a while.
One thing I have tried (although it seems rather ADHD of me) is spending smaller amounts of time on the multiple projects I have going at once. For example, last night I finished the rows of a fingerless mitt, put it down, and moved on to finishing a dinosaur leg. Just sewing amigurumi limbs uses different muscles and gives them a break, but I still get the benefits of something monotonous and relaxing. Lastly, before bed, I worked on a Tunisian scarf until I got sleepy (which didn’t take long). Divvying up my time on projects made me feel like I was accomplishing a lot in one sitting, but also helped me balance the various different muscles I use for each individual project. +1 for multi-tasking!
I think the lesson here is less is more. I’ll be celebrating my one-year wedding anniversary this weekend and I don’t plan to spend it crocheting. It’ll be some nice down time from my usual craft corner on my couch–a way to “unplug,” as it were–good for both brain and body.
I fully expect to bounce back come Sunday evening feeling all the more raring to get back to working on simultaneous projects. In this particular moment, I’ve got going:
- Tunisian scarf
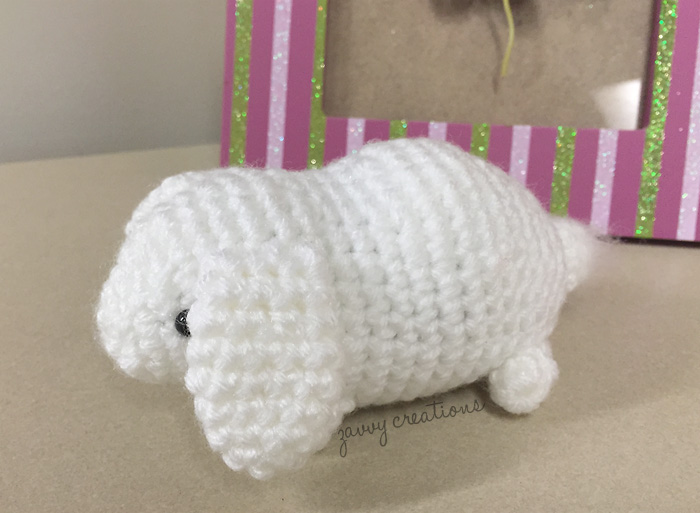
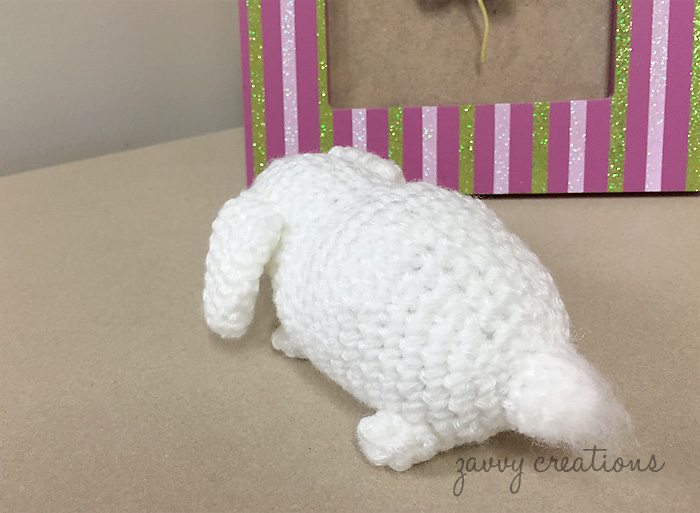
- Dinosaur amigurumi
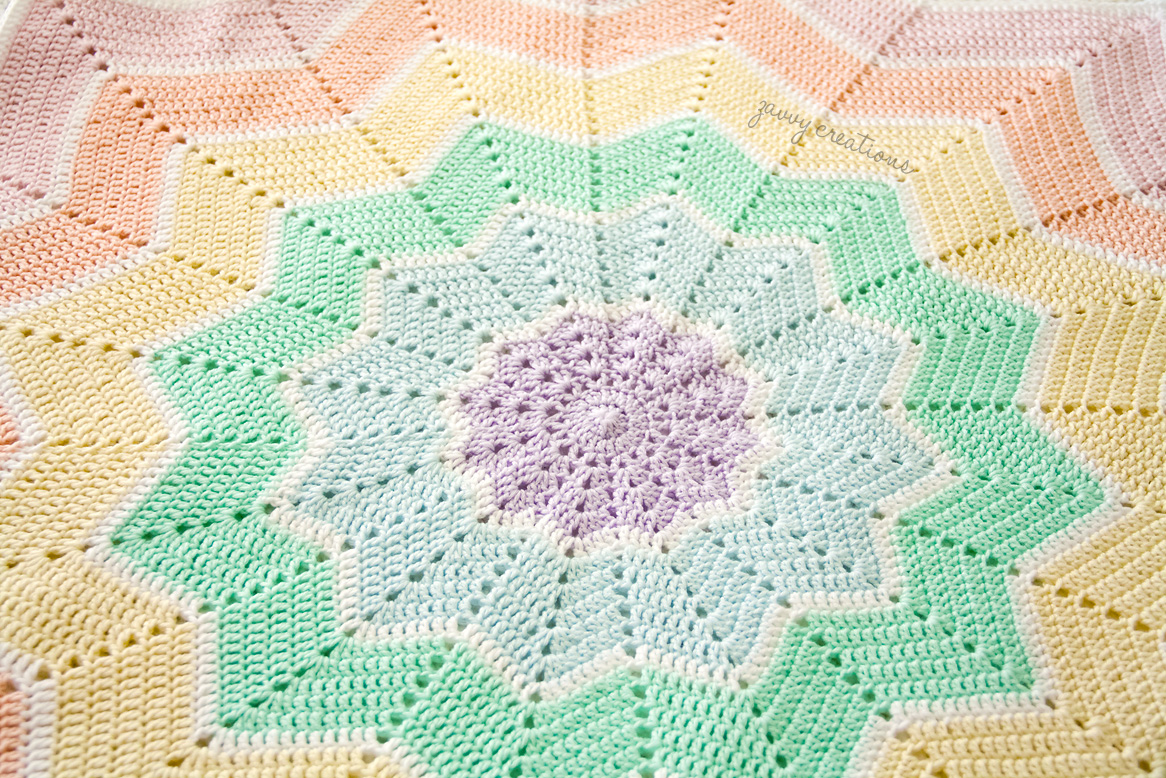
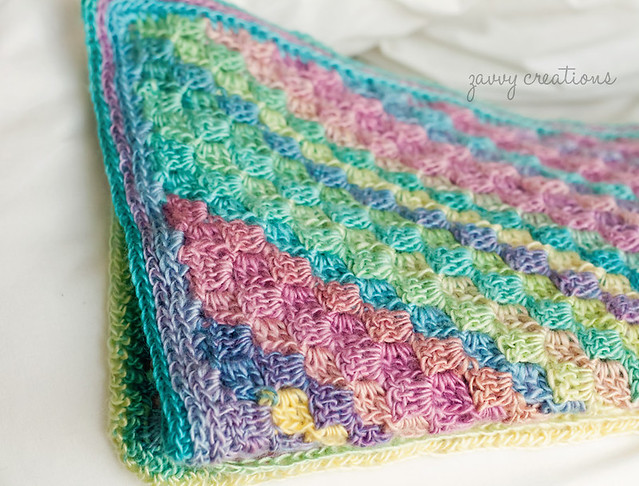
- Starburst blanket
- Fingerless mitt to round out the first one I made
In the queue behind those are:
- Another Tunisian scarf
- Another blanket for some friends’ children
- Another dinosaur amigurumi
- Another pair of fingerless mitts
- Christmas stocking
- Personal project I’m working on designing
Yeeeeeah……I think some time spent gallivanting around and celebrating my anniversary is just what the doctor ordered. Next week, I hope to showcase some finished projects . Until then!

Photo courtesy of University of Illinois Springfield


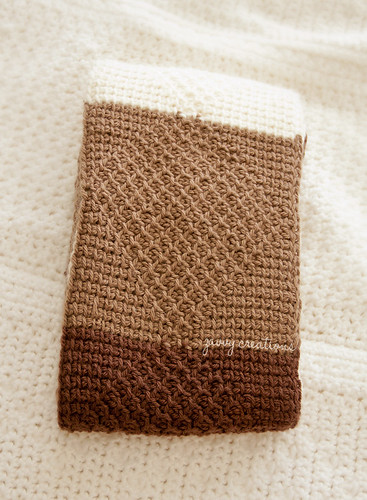

 others I am making will be all one color, and I think it will show off the diamonds a bit better, because you don’t get distracted by the color changes. That said, it’s still a real showpiece. Hats off to Michael Snow for his ingenuity with two easy stitches!
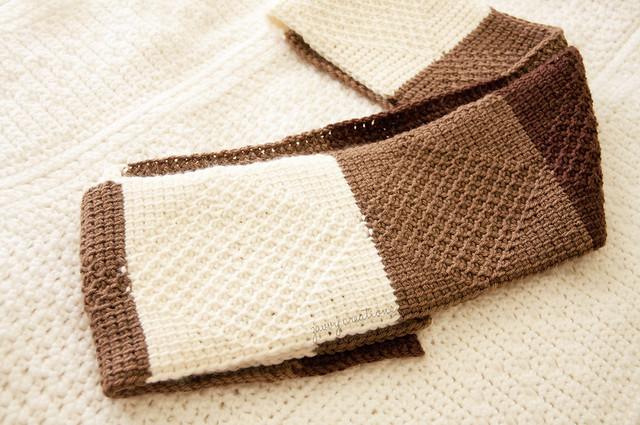


 My husband and I were streaming some terrible movie (of my choosing) on Netflix and so it made this dishcloth go by all the faster, since I was focusing on it much more than the movie. I finished it off with a single crochet border and it sits in my sink as I write this.
