Tunisian Crochet “Hard Candy” Throw

Hello, friends!

Well, the pandemic arrived and took with it a lot of personal creative resources. I have still been making things but haven’t had the wherewithal to post about them since last April.

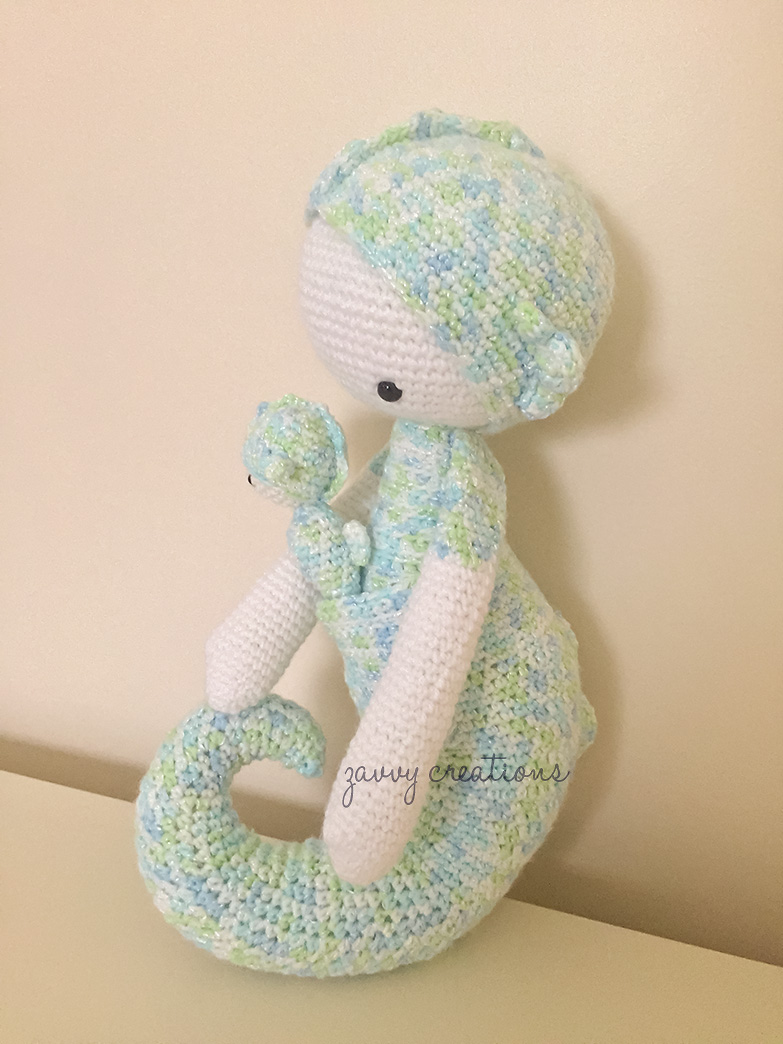
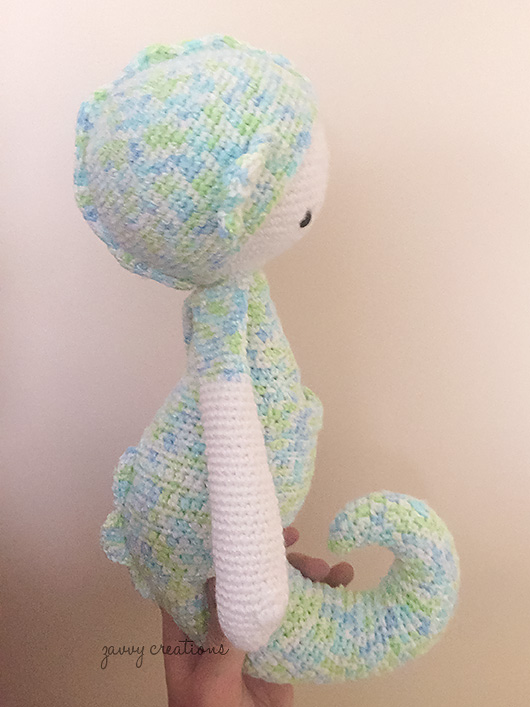
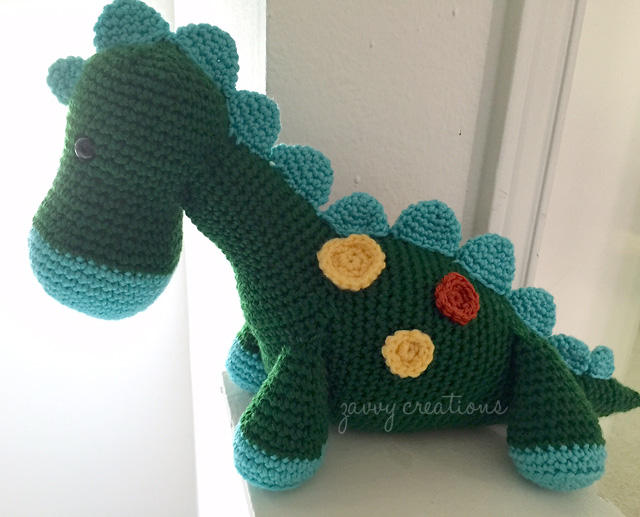
That said, one of the projects I endeavored to make was something that was going to take down some of my yarn stash, specifically my acrylic (I have amassed a ton from Knit Picks Brava Worsted since I was making so much amigurumi). Since I closed my Etsy shop, I haven’t been making as many toys, though I still love it and intend to make more here and there.

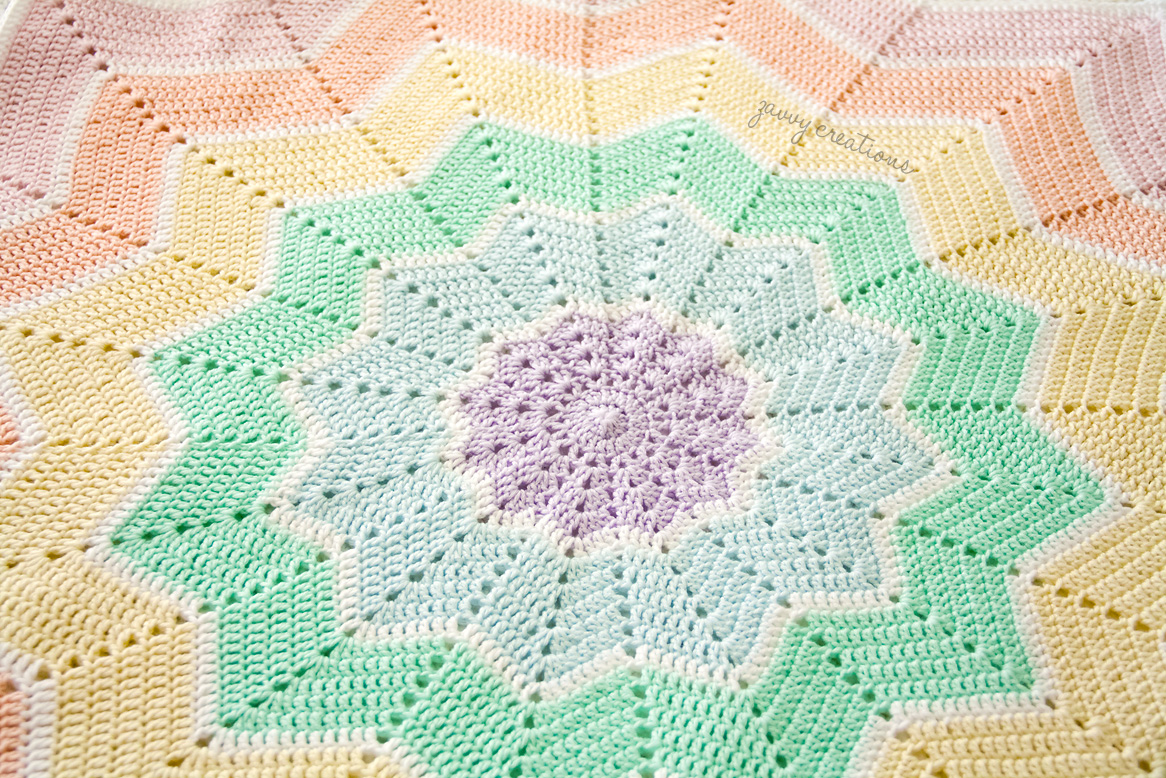
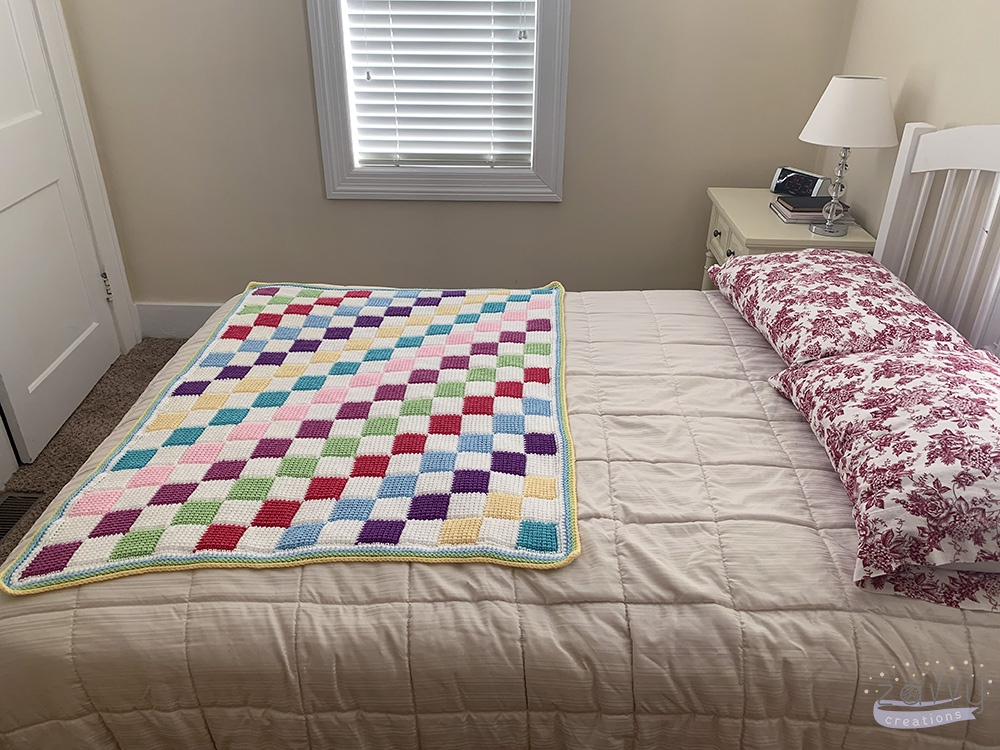
I have been wanting to try my hand at the Tunisian entrelac technique for quite some time. I’m going to link to the YouTube tutorial I found most helpful specifically for doing a corner-to-corner style blanket.

Best explanation of “the formula” I’ve seen

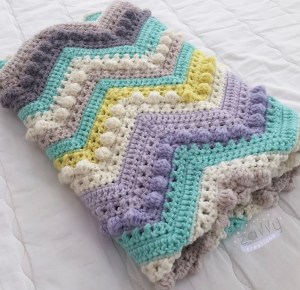
I personally like the checkerboard look, so I opted to go with a row of white in between every color row. I did only one color repeat and have a singular row of baby pink in there, which helped me define where my “halfway” point was so I could make the blanket into a rectangle before decreasing.

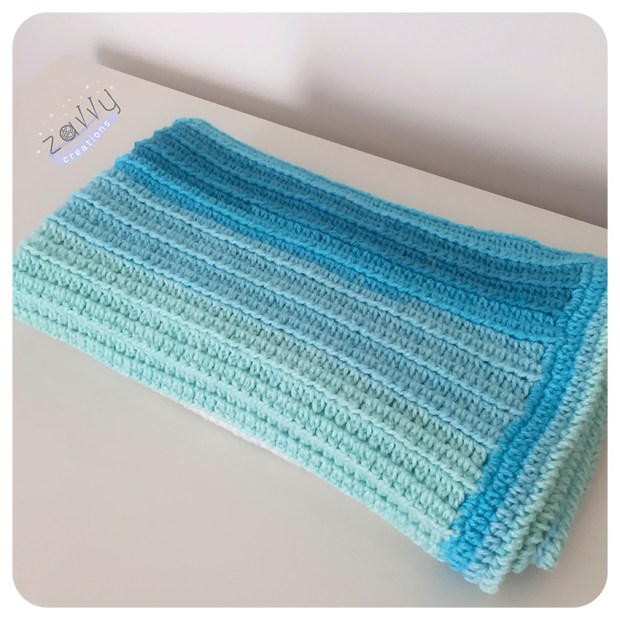
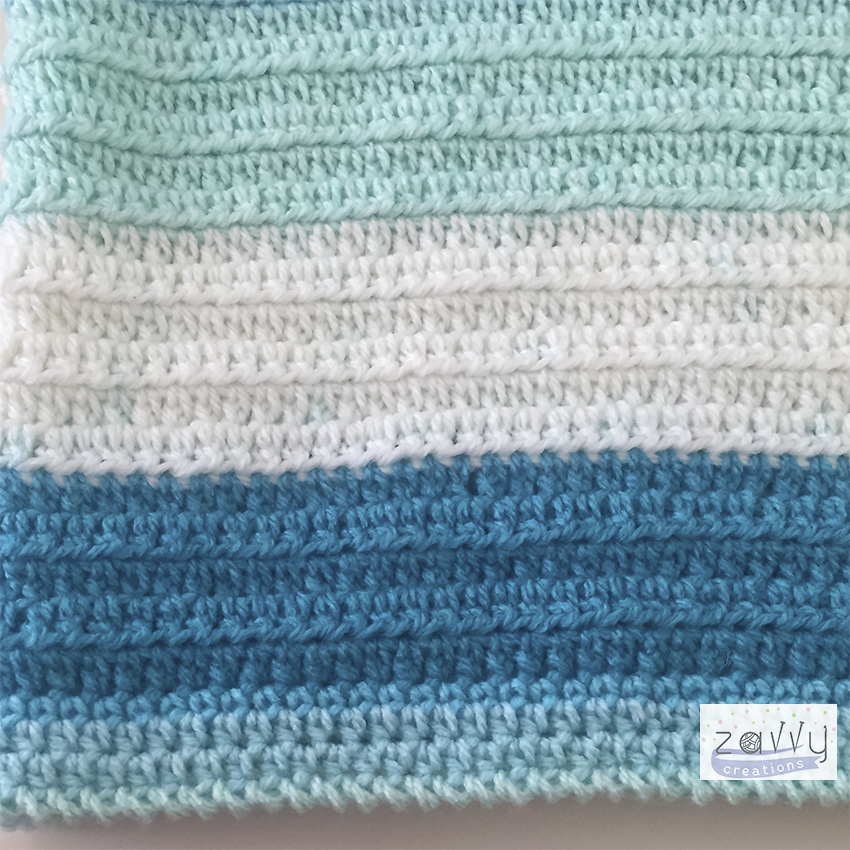
I am super thrilled with the outcome, even with all the weaving in of the ends (each row has two ends to weave in). For the border, I did two rounds of single crochet in white, which nicely used up my fourth skein of white, and then I did three rounds of half double crochet, with the final two rounds being done in the “half loop” behind the top of the stitch, so it leaves that pretty rope looking border. This was effective in both aesthetics and also helping with the inevitable curling that happens with Tunisian crochet. A popular thing to do is to add in Tunisian purl stitches as a border but I wanted to do something with standard crochet and not Tunisian for this one.

I think it looks awesome and it’s a great size: 46.5″ wide by 36.5″ long. This will fit nicely over a crib or just using it as a lap blanket. What’s great about Tunisian crochet is that it provides a dense, woven fabric, at least in the Tunisian simple stitch, and while I was finishing it, it was definitely keeping my legs warm!

Below are some more photos. I have also decided to list it in my Ko-fi shop, so hit up the link if you or someone you know would like this as a gift! As I state in my shop, purchases don’t just line my pocket, but help with my caregiving duties to my sibling with disabilities.

Feel free to comment if you have questions, or hit me up on Instagram! Handle: zavvycreations

“Ocean and Sand” Blanket Using Caron Cakes

As we amble on through winter, I’ve found myself tackling cheerful projects like this precious baby blanket. I bought the yarn on a whim (Caron Cakes in colorway Faerie Cake) and decided to see how it would work up as a blanket. The colors are just so pretty, aren’t they?

This blanket wasn’t done using a pattern — I winged it — but I’ll list the basics of what I did below, in case you want to try something with this line of yarn.

Due to the small amount of wool in it, the blanket feels slightly denser than a typical baby blanket, but it’s not what I would consider heavy. It adds just the right amount of weight and warmth. The stitches hold up well and the blanket has a nice drape. I was able to make a blanket about 28″x 30″ which includes four rounds of a border, using only two cakes.

Hook: H (5mm) 

I started off with a chainless foundation row of half-double crochet stitches and then kept the height by using extended double crochet stitches throughout for the body of the blanket.

For the border, I did one round of single crochet, followed by two rounds of standard half-double crochet, and ended with one round of twisted single crochet, which mimics crab stitch without the headache.

It worked up quickly and prettily — the stripes do all the visually pleasing work, really, although I really do like that edging with the twisted single crochet in the aqua color.

I ended up listing this blanket in my Etsy shop giving it to some friends as a baby gift. I call it the “Ocean and Sand” blanket because of all the shades of “water” it has in this colorway. Of course, being named Faerie Cake, it could be used in any number of magical-themed projects where you need some beautiful shades of blue. Below are the photos with more closeups of the blanket itself.

If you’ve tried this colorway or Caron Cakes in general, let me know what you think of working with it!

Chevron Convert

IMG_2202 zvcWhen chevron was blowing up a few years ago, I didn’t get into the trend right away. But after I tackled a couple of projects that used it, I really liked the look of it, colors depending.

Last year, Jeanne from The Crochet Crowd designed this chevron “hugs and kisses” blanket using Caron Baby Cakes. I liked it as soon as I saw it. My transfixed inner voice said, “I must make the thing.”

It took me longer to complete than I would have liked, but largely that was due to my getting sidetracked with orders, work, and other life goings-on. It is not a difficult pattern.

For my blanket, I decided to blend two different colorways, Dreamy Mint and Frosted Pansies. I wanted a pop of yellow in there to break up the teal, grays, lavender, and cream. I liked working with this yarn, for the most part, but it can split at times. It is very soft and warm, though, and I like how easy it is to wash and dry it.

I found this project relatively soothing to create, although I had to keep careful track of my rows, since it the pattern repeat consists of 8 rows. For the bobble stitches, I switched from my usual comfortable Clover hook to my Furls Odyssey hook, which has a nice long neck, ideal for working with a fluffier, thicker yarn such as this one for bobble stitches. Because you alternate with something different each time, it keeps you on your toes. It is not dull or mindless to complete.

I ended up not using all four cakes, since I did not chain as many initial stitches, opting to make something slightly smaller than the pattern calls for. (I believe it calls for 6 cakes.) Because I didn’t want the blanket to be overly taller than it is wide, I stopped with the cream color of the fourth cake. I had enough to do a single crochet border in cream around the entire blanket, which gives it a nice finished look. My blanket is roughly 31″ wide and 36″ tall.

I didn’t have an intended recipient for this blanket, so I’ve listed it in my Etsy shop. It’s largely neutral and I think the colors pop so nicely with the chevron pattern. Jeanne did such a nice job with the design.

Have you tried your hand at this one?


Completed: Sepp the Seahorse Doll from Lalylala

Hi, friends.

I believe a little while ago I mentioned that I had finally completed the seahorse doll (pattern from Lalylala), which took me the better part of two years to make, but only because I put him down for long periods of time.

At last, I processed a few of the photos I managed to get before I shipped off the doll(s) to their new home. I didn’t get any really terrific shots with my nice camera because I was under deadline to finish it as a gift for a new baby back in January.

I heard that the family did love the seahorses, as their theme for their baby son’s nursery was the ocean.

Success!

A relative had given me a bunch of shiny Bernat baby yarn a few years back and when the seahorse project came up, I decided I would use it to create a shimmery look. It worked out very well for this purpose, but because the yarn is thin and crinkly, there were times I almost gave up making the doll with this yarn.

On top of the difficulty of working with the yarn is the fact that Lalylala designs her patterns with tons of details for the maker. I would think I was nearing the end and I realized I had to do the fins and details for the body. Those took me much longer than I anticipated because doing surface slip stitch with teeny thin yarn that splits easily is not exactly fun.

Regardless, I plowed through, and I am really pleased with the overall result. If you’re on Ravelry, you can see the project details here. Despite using much finer yarn, this doll was huge at 14″ tall.

I think I could do another one of these dolls but probably not as a custom order, since it’s difficult to predict how long it will take me to finish it. But I could see myself making another and listing it in the shop someday.

Here are the photos! Whee!

IMG_1170_zvc

IMG_1173_zvc


Sunnyside Preschool Halloween Carnival and Auction

It’s autumn. At last! Probably the most favorite season of all seasons. With it comes the cooler temps, the leaves bursting into color, sweater weather, the smell of wood smoke in the air from fires being lit, hot beverages (with marshmallows), Pumpkin Everything, crocheted accessories like scarves and fingerless mittens, Halloween, Thanksgiving, and the pre-Christmas festivities and anticipation. Oh and don’t forget the millions of pins that will be pinned on Pinterest with all the autumn excitement.

There is a lot packed in to three months!

Autumn also brings fun festivities, like Halloween carnivals! A friend of mine who lives in California reached out to me to ask whether I could donate  some items for a Halloween carnival and auction to raise money for her son’s preschool.

I was delighted to help out and checked my stores for some things I could give away. I happened to have some things that I thought would make someone very happy if they bid on them; I also added an amigurumi to round out the package.

So here is what will be up to win and/or bid on!

IMG_1191 zvc

IMG_1175 zvc

IMG_1178 zvcIMG_1171 zvcStarburst blanket
Stuffed whale
Striped baby hat

In addition to the items, I also included a card with a special discount code for any purchase in the shop.


IMG_1182 zvcIf you have any questions or comments about the items I donated, please leave me a comment below.

Happy autumn and Halloween season!

Recently Finished Amigurumi

When I last left off, I was amidst a frenzy of untying a bunch of knots and completing amigurumi orders. I took a breather on Saturday when I finished the last item….before another sprinkle of orders came in on Sunday. August is turning out to be quite the month of amigurumi!

The first part of one order is this sweetie, called Sam, the Big-Bottomed Bunny from Crochet One-Skein Wonders.

He had such a sweet face and I loved the idea of making something that could sit on a big bottom. His floppy ears are also pretty dang cute. He’s very huggable and snuggable.

Sam 2

Sam 3

Sam 1

A biggie that I wrapped up earlier last week was this sweet dinosaur. Holy sewing, Batman! This took a lot of time to carefully sew together all the parts that make up this creature but in the end, it was worth it. He came out super adorable and is intended for a couple who is having a baby boy.

Dino 1

Dino 2

Lastly, I finished an order for an elephant for a baby girl, so her paws are pink. I couldn’t resist adorning her with a pink ribbon, as well. The trumpeting snout just kills me, it’s so cute.

Ellie

I’d love to see what you have been creating. It helps keep me inspired. Share away in the comments below! Until next time, friends.