For the better part of two years, I have largely focused on amigurumi projects, with a few baby garments and the random accessory here and there. Then I received a terrific book with all kinds of different patterns in it, entitled Crochet One-Skein Wonders. Isn’t that cute?

In it, there are several patterns which refer to Tunisian crochet. I had no idea what an afghan hook was or how this differed from what I had been doing, but I was certainly intrigued, especially by the pictures of the thicker, woven texture of the end products.
My book notes: this book contains projects that are largely for advanced beginners and advanced intermediate crocheters, so they do presume you have a baseline skill set. They give both written and chart instructions where they can, which is also helpful. Lastly, they organize the book by yarn weight, going from lightest to densest, which spoke to my little organized soul. It boasts a nice index.
I began heavily researching Tunisian crochet to see if I wanted to invest more time and money into new hooks and new techniques. Short answer: yes. From what I could tell, this was a distinct twist on my crochet skills that I felt I must have in my repertoire. My basic desire was to be able to create more densely made items that weren’t as “loopy” as standard crochet. For whatever the reason, knitting just does not call to me. So being able to create “knitted” things with a twist on a crochet hook held a strong appeal.
Once I acquired some hooks, books, and even more different types of yarn (mainly cotton blends so I could make All the Washcloths and Pot Holders), I also sunk a little spending money into two Tunisian crochet classes on Craftsy when they were having one of their big sales on classes. If you haven’t checked out Craftsy yet, I strongly recommend it. They are a go-to for any kind of major creative craft medium out there and feature tons of classes, shops, patterns, etc.
After practicing a lot of the stitches on a swatch (some quite unsuccessfully), reading through stitches and patterns, watching YouTube videos, and following along with a number of lessons in one of my Craftsy classes, I finally began to grasp the concepts without flailing about awkwardly with these stranger crochet hooks and different stitch techniques. Because Tunisian crochet is a blend between crocheting and knitting, it takes a bit of practice to get to a baseline comfort level. Once I got the hang of it, though, I started wanting to make more and more items. I’m excited to go to the next level in my class, which creates a colorful shawl/tunic.
Let’s get to the fun stuff; time for some show and tell! These are all beginner projects, mind.
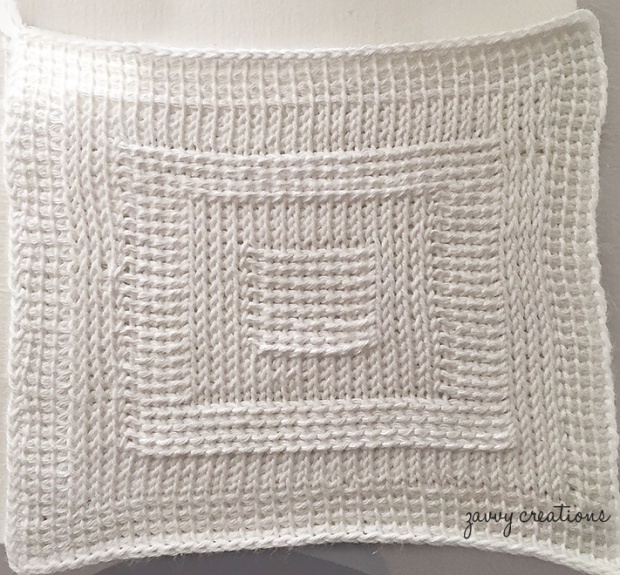
The first two things are washcloths that were part of my online class. They’re the same pattern but in different colors. They utilize three different kinds of stitches to form a lovely embedded square pattern. Here are those stitches up close:

Simple Stitch is as easy as it gets. Honestly what is difficult with Tunisian crochet is getting the hang of your tension and making sure the sides even out. Another aspect of Tunisian crochet that I like is, generally speaking, the stitches are universally named. One doesn’t have to convert from UK terms to US terms, for example.
Tunisian Knit Stitch is probably one of the more popular stitches to use, at least from a beginner’s standpoint. It looks exactly like knitting and gives a nice tight weave and beautiful look to the project.
Here is a full shot of the white washcloth after it was steam blocked and left to dry. It still looks a little wavy and uneven but that’s just due to my novice hand. I made this with KnitPicks Shine Sport. It is super soft and I have used it on my own very sensitive skin. I will be making more with this yarn blend of pima cotton and bamboo, but I’ll try out other colors.

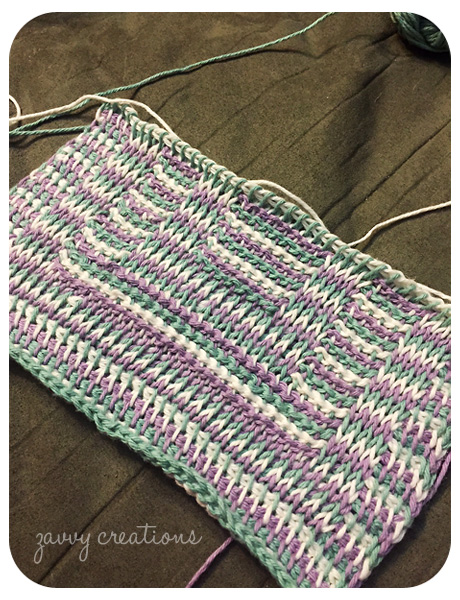
Next up is the tri-color washcloth. I made this with CotLin, a blend of cotton and linen, also from KnitPicks.
The challenge here was changing colors at the end of each forward pass, each reverse pass, and keeping the sides even.
 Finished and steam blocked (no pins necessary, thankfully):

Once I conquered this thing, I wanted to go back to the book I mentioned before and try out the pot holder pattern I initially saw. Because it was entirely in Tunisian Simple Stitch and I wanted to create a slightly different look, I decided to wing it and make my own pot holder without any assistance from a pattern. I know, crazy talk! I have never just begun crocheting without a pattern. But I forged ahead.
I made two squares, same height and width, two different colors, with a third color for an accent color on the border when I crocheted the two sides together. Not too shabby!


Because I was using up the CotLin yarn, this is definitely more of a lightweight potholder, but I still think it will do the trick. I’ll have to experiment with bulkier yarns for heavy duty pot holders in the future.
I feel like I’m on my way and I’m looking forward to tackling more complex stitches and patterns that aren’t in simple shapes. I have heard tell that you can do Tunisian crochet in the round, something that intrigues me as an amigurumi maker (since I can now crochet in the round in my sleep). In the second class I purchased from Craftsy, the end project is a fitted sweater vest, which involves shaping, increasing, decreasing, and other scary sounding verbs. I’ll get there.
I absolutely recommend learning this form of crochet for anyone out there who is on the fence, doesn’t know what the heck it is, or has the same desire I did, which was to create less holey items and learn new kinds of stitches. It is seriously fun and interesting, if you geek out over this kind of thing as I do. And I do.
Until next time, friends.

These look fantastic but I doubt I have the patients for it (said the doctor).
LikeLike
Heh.
LikeLike